Replace The Tail Light Bulbs on a Chevrolet Camaro

Replacing the brake light bulbs on a 2010, 2011, 2012, and 2013 Chevy Camaro is pretty easy. This how to guide will show you how to safely remove the bulbs, replace them, and buy the correct bulbs by part number.
- Plastic Fastener Remover (preferred)
- or, Flat Head Screwdriver
- 4 x Clear 3157 Bulbs
Open The Trunk

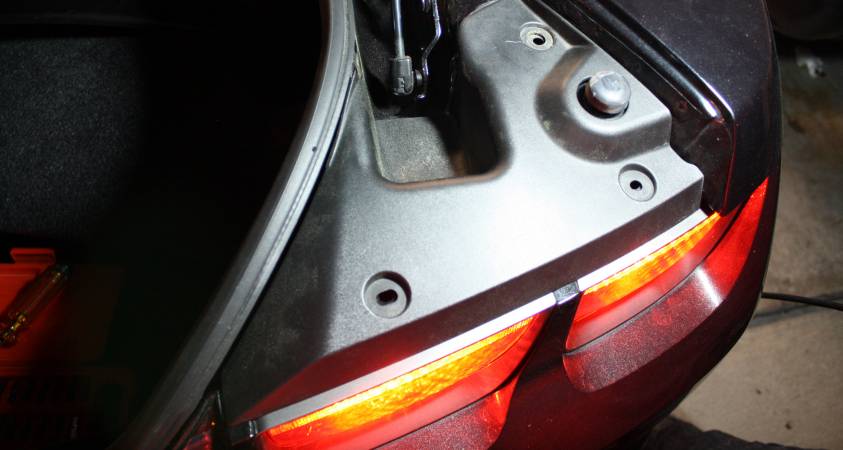
Remove the Trim Covers
Remove the cover. Each cover is held in place by 3 plastic press in fasteners.
These can be removed with a flat head screwdriver, but you'll have better results with a plastic fastener remover tool. It'll help prevent damage to the panel and to the fastener.

Remove the Tail Light Bulb
Remove the bulb in the appropriate brake light housing by rotating it counter-clockwise. I found this easier to do with the electrical harness still connected.
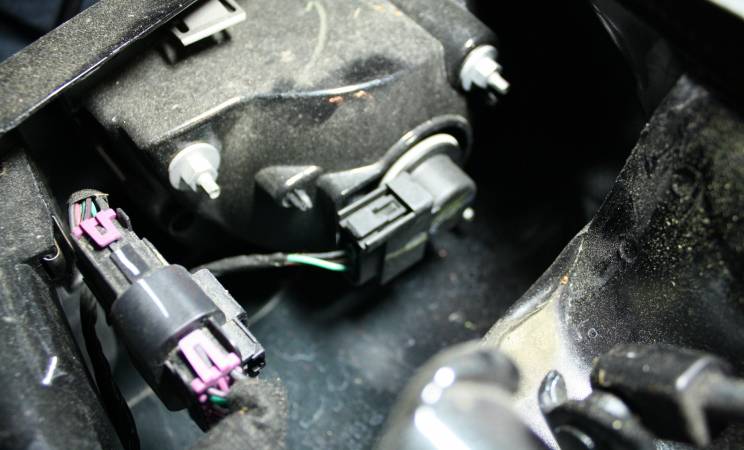

Install A New Brake Light Bulb
Insert the bulb and adapter back into the tail light housing. Tighten by rotating counter-clockwise.
Note that the bulb can only go in one way because of the 3 locking tabs and matching slots on the housing.

Test
There are 1 Comments.
Say Something.Why does the manual not say to use a plastic fastener remover tool? Badly written by GM.
You have to log in to comment...
We'll publish your comment after you're logged in.
Written by:iturgeon
Related HowTune Articles
Written by:syo237
Changing the Oil
Written by:syo237
Programming Keys
Written by:syo237
Resetting the Oil Life Indicator
Written by:iturgeon
Replace the Air Filter
Written by:syo237
Change the Battery
Get notified about new articles.
We don't sell or share your info.