Replace The Alternator on a Honda S2000
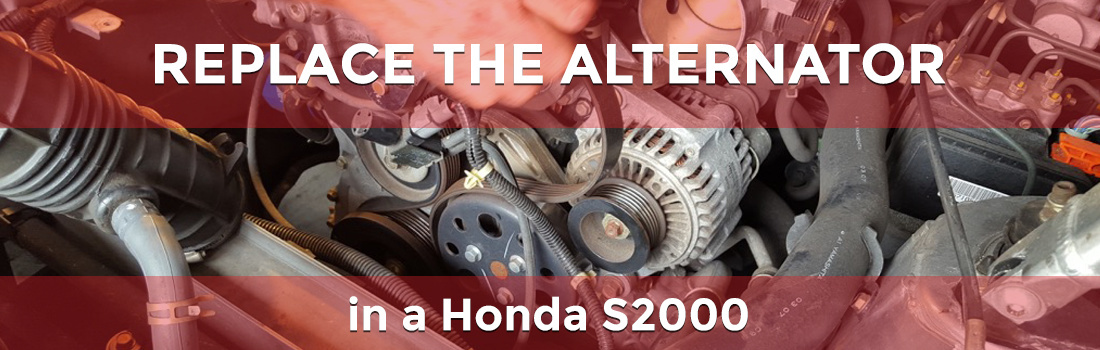
Got a bad alternator? Replacing one in the S2000 is a relatively straightforward procedure. We just need to get some things out of the way before we can get to it. Read on to see how it's done.
One important note - these instructions are for an AP1 (99-03) model. Instructions may alter for a later AP2 model, however I have both alternators and part numbers for all 1999-2009 versions of the car.
- Metric socket wrenches and/or Metric wrenches
- Phillips head screwdriver
- Breaker bar or a pipe for removing tight bolts (Optional)
- Alternator for a 1999-2005 (Honda Part #31100-PCX-J02): Denso (OEM), DB Electrical, Quality-Built, AC Delco, Remy
- Or, alternator for a 2006-2009 (Honda Part #31100-PZX-003): Premier Gear, Quality-Built, AC Delco, Remy

Disconnect Battery
Disconnect the negative battery terminal. If you have the stock radio make sure you have the anti-theft codes for your radio.
Remove Air Filter system
You're going to need to move or remove the air cleaner assembly. Start by loosening the clamps holding the air cleaner assembly in place.


You should now be able to twist the air cleaner assembly out of the way (or remove it completely).


Move (or remove) drive belt


Remove Alternator
Disconnect 4P connector and the positive alternator cable from the back of the alternator. To remove the cable first remove the boot on the cable, then remove the 8mm nut underneath attaching the cable to the alternator.


Remove the alternator mounting bolts - 10mm (A). On my car these required quite a bit of force, so you may want a torque wrench or breaker bar.

Now you can remove the alternator. Alternate between a pulling and pushing motion to slide the alternator out of the mounting bracket (alternator removed in picture).

Now, in reverse!
Alternator:
- 1999-2005: Honda Part #31100-PCX-J02
- 2006-2009: Honda Part #31100-PZX-003
There are 1 Comments.
Say Something.EXCELLENT post! Well explained! Annotated photos are first rate!
Bob in Kelowna, Canada.
You have to log in to comment...
We'll publish your comment after you're logged in.
Written by:zachberry
Related HowTune Articles
Written by:zachberry
Replace the Clutch Fluid
Written by:zachberry
Upgrade the Radio With Modifry Dash Controls
Written by:zachberry
Lower the Driver Seat with a Backyard Special Lower Seat Rail
Written by:zachberry
Change the Front Brake Pads
Written by:zachberry
Fix the Brake Lights Stuck On (or Broken Cruise Control)
Get notified about new articles.
We don't sell or share your info.