Change The Cabin Air Filter on a Ford Fiesta
Learn how to change a 2011-2014 Ford Fiesta cabin air filter. The manufacturer's schedule says to replace it every 15,000-20,000 miles (or once a year). This guide includes all the tools and parts needed to get the job done quickly.
A commonly overlooked maintenance item on todays modern cars is the cabin filter. The purpose of the cabin filter is to clean the air that enters through the ventilation system by filtering out pollen, dust, and other various materials (including some odors) that can give your car that not so new smell. This is particularly important if you suffer from allergies or other respiratory problems.
- Interior Pry Bar (flathead screwer can be used)
- Torx head screwdriver / socket / drill bit
- Cabin Air Filter (choose one): FRAM CF11670, Motorcraft FP-69, Wix 24619
Removing the Cabin Filter
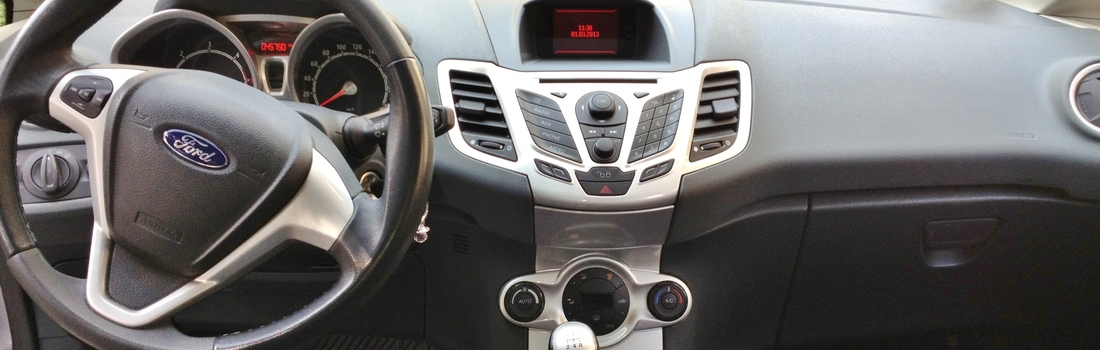
The cabin air filter of the Fiesta is located in the center of the dash near the floor. You access it on the passenger side.
Begin by removing the rivet on the lower portion of the center console panel cover on the passenger side. You will need a phillips head screw driver to loosen the center portion of the rivet. Once the center bolt is loose, carefully pry out the outer ring of the rivet.
Remove the panel by gently pulling it out towards you. Start from the bottom side. There are clips that hold the panel in place. Having a plastic pry tool for interiors will help detach the clips. If you do not have an interior pry bar, you can use a large flathead screwdriver for leverage - have a clean rag handy to help protect your interior parts.
Disconnect the sensor that spans across the cabin filter access panel. Squeeze the tab of the sensor and pull to remove.
There are 5 torx bolts that hold the cabin filter access panel in place. 3 are at the bottom, and 2 are located at the top. Remove all 5 torx bolts. The upper right bolt (nearest the firewall) may require a socket wrench to access. The upper left bolt may require a torx screwdriver to access.
Replacing the Cabin Air Filter
The new filter will have air flow arrows on it. The arrows should be facing towards the REAR of the vehicle.
To reinsert the cabin air filter, you will have to twist and bend the filter to get it into the housing due to the limited space. Go slow so you dont damage or destroy the filter and it should pop back to its original form once it is lined up and fully slid into the housing.
Align the tabs and replace the access panel cover to the filter with the 5 torx bolts. Starting them by hand will help ensure they go in straight and not cross thread.
Align the center console panel cover with its respective tabs and push it back into place. Again, you may need to have the assistance of an interior pry bar.
There are 0 Comments.
Say Something.You have to log in to comment...
We'll publish your comment after you're logged in.
Written by:syo237
Related HowTune Articles
Written by:BagOfArms
Replace the Headlight Bulbs
Written by:BagOfArms
Replace the Dome Light Bulbs
Written by:iturgeon
Reset the Tire Pressure Monitor Sensors
Written by:BagOfArms
Lower the Cargo Floor
Written by:BagOfArms
Change the Oil
Get notified about new articles.
We don't sell or share your info.